Why Your Candle Wick Keeps Drowning (and How to Fix It)
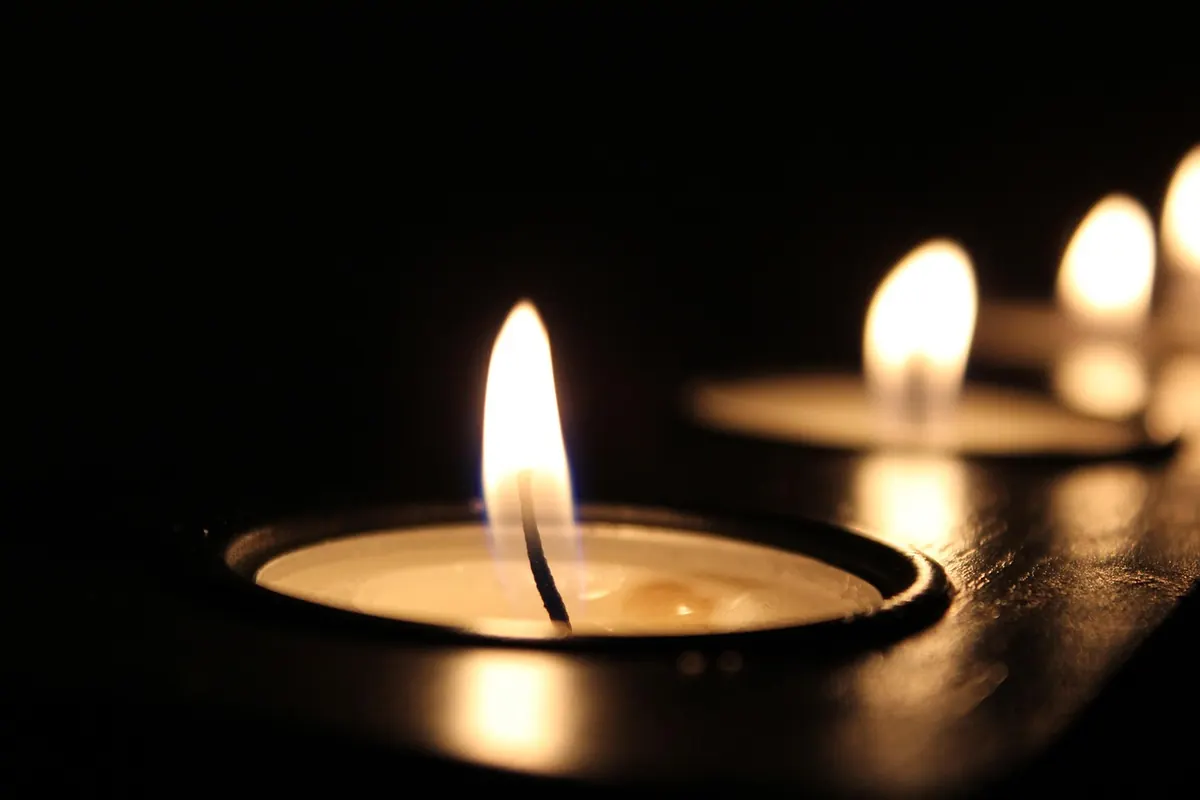
You light the candle, and for the first few minutes it looks promising. Then the flame shrinks to a pale nub, leans sideways, and disappears into a widening pool of wax. Ten minutes later the wick is a black twist lying in a puddle, and the candle has tunnelled halfway down the jar. A wick that drowns, smokes or refuses to stay lit is almost always a sizing problem, a trimming problem or a fragrance problem. All three are fixable, and the diagnosis rarely takes longer than a single burn.
What Is Actually Happening When a Wick Drowns
A candle is a small balancing act. The wick draws melted wax up into the flame, and the flame turns that wax into vapour and burns it. For the flame to stay alive, the wick has to pull wax upwards at roughly the same rate the flame melts it from the pool below. When the pool deepens faster than the wick can cope with it, the flame ends up sitting in liquid wax and starts to lose the fight.
The warning signs are consistent. A flame under about 1 cm tall that flickers and dips. A wick that curls over and disappears below the surface. Soot collecting on the glass. A hard, brittle mushroom of carbon on the tip. If you are seeing two or more of those, you are watching a wick drown in slow motion.
Wick Size: Behind Most Drowning Wicks
Nine times out of ten, the wick is simply too small for the job. Wick sizing depends on three things at once: the diameter of the container, the type of wax and what you have added to it. A wick that burns beautifully in a 6 cm tin of paraffin will struggle in a 9 cm jar of soy, because soy is denser and needs more heat to form a full melt pool.
Wick too large causes its own trouble, and it can look similar from the outside. A big wick gives a tall, restless flame that smokes, overheats the glass and throws carbon into the wax. That carbon then builds into a mushroom, which droops into the pool and drowns the wick anyway. Oversized and undersized wicks both fail; they just fail differently.
Wick series matter as much as numbers
A CD 10 and an ECO 10 are not interchangeable. Different series — CD, ECO, LX, HTP, wooden wicks — are made from different materials and treated differently, so they burn at different rates. Always start with your wax supplier's wick recommendation for your exact jar diameter, then test from there.
How to test properly
- Burn the test candle in two to three hour sessions, not marathon stretches.
- By the final third of the candle, the melt pool should reach the edge of the container within two to three hours.
- The flame should sit around 1–2 cm tall, steady, with no flickering and no soot on the glass.
- If the pool never reaches the edge, go up a size. If it reaches the edge in under an hour and the glass is hot to touch, go down.
Trimming: The Free Fix Most People Skip
Trim the wick to about 5 mm before every single burn, and do it while the candle is cold. A long wick draws up more wax than the flame can burn, and the surplus turns into carbon. That carbon forms the mushroom, the mushroom flops into the melt pool, and the flame goes out.
Use a proper wick trimmer, or nail clippers in a pinch, and tip the trimmings into the bin rather than leaving them in the wax. If the wick mushrooms badly halfway through a burn, blow the candle out, let it cool, trim and relight. It feels like a fuss. It takes fifteen seconds and it saves candles.
Fragrance Load, Dye and Additives
Fragrance oil is the most common culprit after wick size. Oil is not fuel — it does not want to burn, and a wick saturated with it will clog, soot and shrink. Push your fragrance load too high and you get a candle that smells wonderful cold and refuses to stay lit.
Stay within the maximum your wax supplier recommends. For many soy blends that sits somewhere around 6–10%, but the honest answer is that it depends on your wax, your oil and your wick, so read the technical sheet that came with the wax rather than trusting a number you read online. Cure time matters too: give candles at least 24–48 hours before burning, and longer for soy, which often performs best after a week or two.
Dyes, mica and heavy additives cause the same problem in smaller doses. If you are troubleshooting, strip the recipe back to wax and wick first and add colour and scent once the burn is reliable.
Wax, Container and How You Burn It
The first burn sets the pattern. Burn a candle for less than the time it needs to melt to the edge and you build a memory ring the wick can never climb out of — from then on it tunnels, and a tunnelled candle drowns under its own rim. As a rough guide, allow about an hour of burn time for every 2.5 cm of container diameter, and never burn for more than four hours at a stretch.
Environment matters as well. A candle on a windowsill in a draught will melt unevenly and smoke; a candle in a cold room forms a smaller pool and the wick struggles. Keep candles out of draughts, away from anything flammable, and never leave one burning unattended.
Rescuing a Candle That Is Already Drowning
Work through these in order — most candles are saved by the first two steps.
- Trim and retest. Extinguish, let it cool completely, trim to 5 mm and burn for two to three hours. Many wicks just needed the carbon removed.
- Fix the tunnel with foil. Wrap the top of the jar in foil, poke a hole roughly above the wick, and burn for 30–60 minutes so the trapped heat melts the rim down level. Watch it the whole time.
- Pour off the excess. Once cooled but still liquid at the surface, tip surplus wax into a lined bin — never down the sink — to raise the wick back above the pool.
- Replace the wick. Warm the surface with a hairdryer, dig out the old wick and tab, and set a new wick of the correct size in a wick tab, held upright until the wax firms up.
- Remelt and re-pour. If the wick hole is enlarged or the candle is badly tunnelled, melt the wax down, fit a fresh wick and pour into a clean container.
Getting It Right Next Time
Keep notes. For each candle, write down the container diameter, the wax, the wick series and size, the fragrance percentage and the cure time — then change one variable at a time and burn again. Buy wick sample packs rather than a hundred of one size, and test in the container you actually plan to sell or gift.
Most drowning wicks come down to a wick that is one size too small, a wick that has not been trimmed, or a fragrance load that has crept up past what the wick can carry. Fix those three and the flame will hold steady, the pool will reach the edge, and the candle will burn cleanly to the end.
Photo: Pexels / Pixabay