How to Choose the Right Wick Size for Your Candle Jar
You can source a lovely jar, pour at the perfect temperature and use a fragrance oil that smells like a wet garden in June, and still end up with a candle that tunnels, soots and dies halfway down. Nine times out of ten, the wick is to blame. Wick sizing is the least glamorous part of candle making and the one that decides how everything else performs. Get it right and the candle burns cleanly to the edge, throws scent properly and lasts as long as it should. Here is a straightforward method for matching wick to jar and wax, plus a burn test you can run on your kitchen table this week.
Wick size controls heat, and heat controls everything
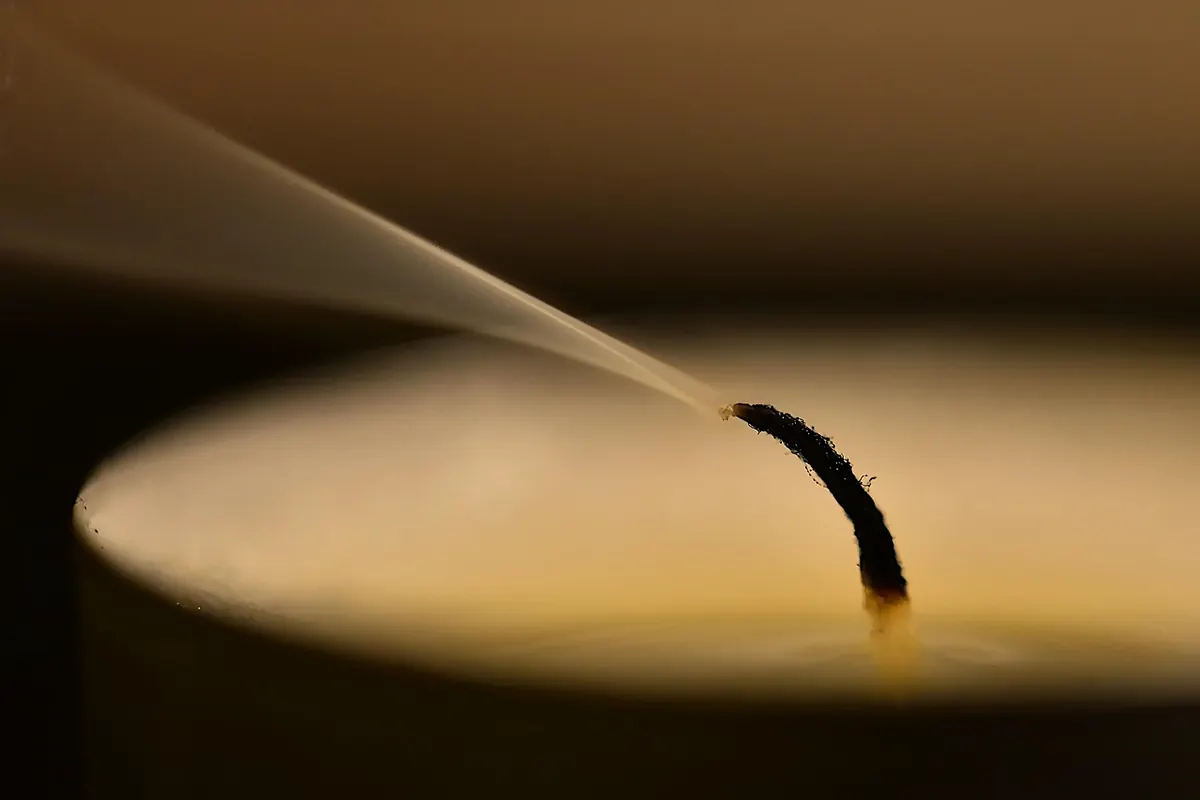
A wick has one job: draw melted wax up to the flame. A larger wick draws more wax, which means a bigger flame, which means more heat. That heat melts the wax around it, and the size of that melted circle — the melt pool — is the number you are really managing.
Too small, and the pool never reaches the glass. Wax climbs the sides, the wick drowns in its own fuel, and you get a tunnel down the middle of an otherwise lovely candle. Too large, and the jar overheats, the wax burns off faster than the fragrance can be enjoyed, the glass blackens and the scent turns sharp. The aim is a wick that melts to the edge without tipping into either failure.
Measure the jar's internal diameter first
Ignore the volume printed on the jar and ignore the outer width. You need the internal diameter, in millimetres, measured across the widest point the flame will actually reach. For a straight-sided jar that is usually the top. Measure twice with a ruler or, better, a pair of digital calipers — a 2mm error can put you a whole wick size out.
Write it down. Then find the sizing chart from the supplier you bought the wick from. Charts differ between manufacturers and even between waxes, so use the chart that matches your wick, not a generic one from a forum.
Shaped and tapered jars need care
A jar with a shoulder or a narrow neck traps heat and lets less oxygen reach the flame, so the wick often behaves differently in the first third of the burn than the last. Tapered jars are trickier still: a wick that suits the base can be too small once the flame reaches the wider top. Where possible, start with straight-sided containers while you are learning. When you do work with shape, expect to test more sizes and accept that some designs simply wick better than others.
Match the wick to your wax
Wax type changes the maths more than anything else. Plant waxes such as soy and coconut are generally thicker and need more heat to draw up the wick, so they usually want a larger wick than the chart suggests for a given diameter. Paraffin is easier to wick and often behaves close to the chart. Beeswax is the hardest of the common waxes to wick, which is why it is so often blended. Blends sit somewhere in between and must be tested as their own thing — a coconut-soy blend is not soy with a bit extra.
A rough starting rule for a straight-sided jar: take the chart recommendation for your diameter, then go up one or two steps for a high-soy or coconut wax, stay put for paraffin, and go up further for beeswax-heavy blends. Then test, because the chart is a starting point and nothing more.
The main wick families
- CD and CDN — stable, low curl, a reliable starting point for soy and blended waxes.
- ECO — popular with soy and coconut blends; often burns a little hot, so size carefully.
- LX — a classic choice for paraffin, with a firm curl.
- HTP — an all-rounder that suits several wax types.
- RRD — strong curl, useful for harder waxes that need extra draw.
- Zinc core — rigid and upright, handy in small votives and tea lights where a soft wick would flop.
- Square braid and flat cotton — traditional choices for beeswax and pillars.
Numbers are not standardised across manufacturers, so a size 8 in one series tells you nothing about a size 8 in another. Stay within one series while you are dialling a candle in.
Fragrance, dye and additives shift the maths
Fragrance oil is not just scent; it changes how the wax burns. Most makers work somewhere between 6% and 10% by weight, with 6–8% common for soy. Push to the top of your range and some wicks will start to struggle, drowning in oil-rich wax, while others will burn hotter and soot. Dyes can also affect flow, particularly heavy liquid colours, and additives such as stearic acid or UV inhibitors all nudge the balance.
The practical answer is to test at the highest fragrance load you intend to sell or gift, not the easiest one. If a wick only works at 6%, it is not the right wick for a candle you want to smell across a room.
The burn test routine
Do this with the exact jar, wax, wick and fragrance load you plan to use, and make at least three test candles with different wick sizes side by side. It is the only way to compare fairly.
- Cure first. Let the candles sit for the period your wax supplier recommends — usually at least several days, and a week or two for soy and coconut blends — before judging anything.
- Trim every wick to about 5mm before lighting.
- Burn somewhere draught-free at normal room temperature. A draught or a cold windowsill will give you results you cannot repeat.
- Burn for three to four hours, then stop. Longer than that is not how the candle is meant to be used, and it distorts the result.
- Note the melt pool at one hour, two hours and three hours, plus the flame height and whether it flickers, smokes or mushrooms.
- Extinguish and let the candle cool completely — ideally overnight — before relighting.
- Repeat for at least three or four burns. The third burn is usually the one that tells the truth, once the wick has settled into its own little well.
Reading the results and adjusting
As a rough guide, the melt pool should reach the edge of the glass within about an hour per 25mm of diameter. The flame should sit around 20–25mm high, steady and upright, and the glass should stay cool enough to touch the sides above the wax line. On the third burn, you want no wax hang-up on the walls and no soot on the rim.
If you see tunnelling, a weak flame or a wick that keeps going out, go up one size. If you see soot, a tall flickering flame, a hot jar or a burnt-smelling fragrance, go down one size. Change one variable at a time, and always retest from a fresh candle rather than trying to rescue a half-burned one.
Practical rules to keep
Buy a wick sample pack rather than a bag of one size, and expect to test two to four sizes before you commit. Keep a simple notebook of jar diameter, wax, fragrance load, wick series, wick size and what happened on each burn — it will save you more time than any chart. Start on the smaller side and size up, because a slightly under-wicked candle is easier to diagnose than an overheated one, and never test with a jar you would not be happy to sell.
Above all, treat the first batch as research. Once you have a wick that burns cleanly to the edge of your jar, you have a recipe you can repeat for years — and that is worth far more than a shortcut. And as with any candle, never leave a burning candle unattended, and keep it away from children, pets and anything that can catch. If you plan to sell, check the current UK requirements for candle labelling and safety before you go to market.
Photo: IstvánKopeczny / Pixabay